Xamarin Android Part 2
Xamarin Android for Android Developers
In a previous post I started to describe my new project PodcastUtilities for Android using Xamarin Android. This is the second part of that journey which describes the steps I took to get the basic Visual Studio Solution setup.
Create Application Project
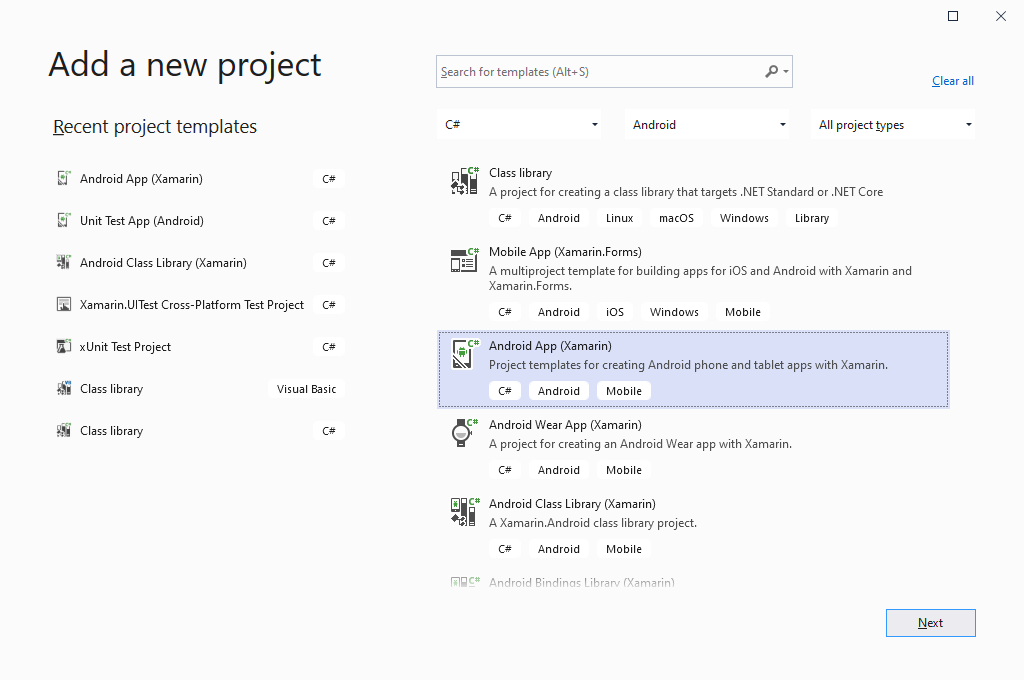
As I said before I am using VS2019, as it was the most recent stable version available when I started. To get started I created an empty solution called PodcastUtilities and in that solution I created a new Xamarin Android App
I wanted the minimum amount of generated code so I went for a blank app.
App icon and colour scheme
I wanted to replace the app icon and colour palette with my own so I copied my png and scaleable graphics into the solution. It is a real benefit that the project structure is pretty much identical to that of a regular Java/Kotlin Android Studio project.
I used the wonderful materialpalette.com to generate the colour scheme. The result was placed in the colors.xml in the usual place, note that I added ic_app_background for the app icon which was generated in a separate file by VS2019.
1
2
3
4
5
6
7
8
9
10
11
12
13
14
15
16
17
<?xml version="1.0" encoding="utf-8"?>
<resources>
	<!-- Palette generated by Material Palette - materialpalette.com/blue/light-green -->
	<color name="primary">#2196F3</color>
	<color name="primary_dark">#1976D2</color>
	<color name="primary_light">#BBDEFB</color>
	<color name="accent">#8BC34A</color>
	<color name="primary_text">#212121</color>
	<color name="secondary_text">#757575</color>
	<color name="icons">#FFFFFF</color>
	<color name="divider">#BDBDBD</color>

	<color name="background">#FFFFFF</color>
	<color name="transparent">#00ffffff</color>

	<color name="ic_app_background">#FFFFFF</color>
</resources>
App name and package name
If you have setup app development in Android Studio you will know that Gradle makes it pretty easy to have different display names and package names for different flavours off the app, for instance debug and release.
android {
    compileSdkVersion 30
    buildToolsVersion '30.0.2'
    defaultConfig {
        applicationId "com.andrewandderek.trailblazer"
        minSdkVersion 19
        targetSdkVersion 30
        versionCode 17
        versionName "1.7.0"
    }

    buildTypes {
        debug {
            applicationIdSuffix '.debug'
        }
    }
This is especially useful as it enables both debug and release versions to be installed on the same device. Its done differently in the Xamarin project.
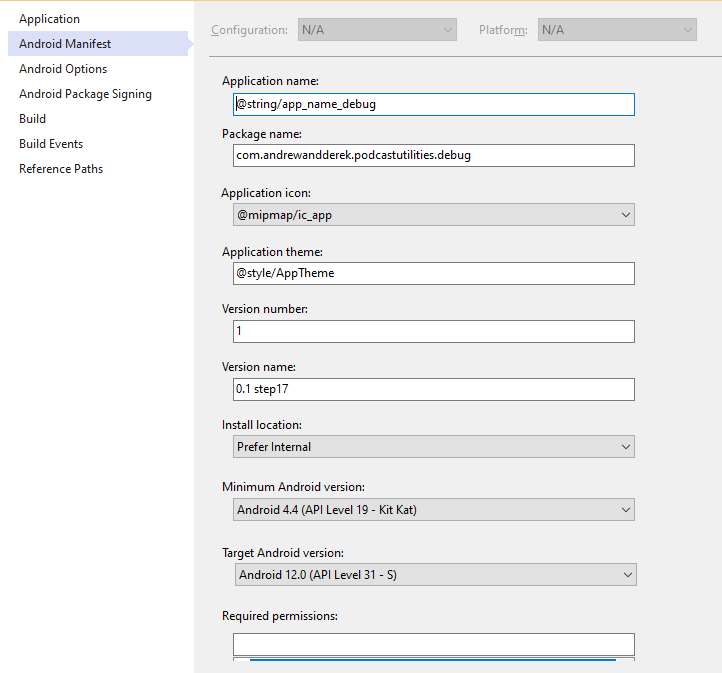
The package name is set in the AndroidManifest.xml.
To automatically edit this file as part of the build I used a Powershell script
1
2
3
4
5
6
7
8
9
10
11
12
13
14
15
16
17
18
19
20
21
22
23
24
25
26
27
28
29
30
31
32
33
34
35
36
37
38
39
40
41
42
43
44
45
param ([string] $ProjectDir, [string] $ConfigurationName)
Write-Host "ProjectDir: $ProjectDir"
Write-Host "ConfigurationName: $ConfigurationName"

$ManifestPath = $ProjectDir + "Properties\AndroidManifest.xml"

Write-Host "ManifestPath: $ManifestPath"

[xml] $xdoc = Get-Content $ManifestPath

$package = $xdoc.manifest.package

If ($ConfigurationName -eq "Release" -and $package.EndsWith(".debug"))
{
    $package = $package.Replace(".debug", "")
}
If ($ConfigurationName -eq "Debug" -and -not $package.EndsWith(".debug"))
{
    $package = $package + ".debug"
}

If ($package -ne $xdoc.manifest.package)
{
    $xdoc.manifest.package = $package
    $xdoc.Save($ManifestPath)
    Write-Host "AndroidManifest.xml package name updated to $package"
}

$appname = $xdoc.manifest.application.label

If ($ConfigurationName -eq "Release" -and $appname.EndsWith("_debug"))
{
    $appname = $appname.Replace("_debug", "")
}
If ($ConfigurationName -eq "Debug" -and -not $appname.EndsWith("_debug"))
{
    $appname = $appname + "_debug"
}

If ($appname -ne $xdoc.manifest.application.label)
{
    $xdoc.manifest.application.label = $appname
    $xdoc.Save($ManifestPath)
    Write-Host "AndroidManifest.xml application name updated to $appname"
}
This script is called from the bottom of the csproj file like this
1
2
3
4
5
6
7
8
9
10
11
  <PropertyGroup>
    <PreBuildEvent>PowerShell -File "$(ProjectDir)..\Update-PackageName.ps1" $(ProjectDir) $(ConfigurationName)</PreBuildEvent>
  </PropertyGroup>
  <!-- To modify your build process, add your task inside one of the targets below and uncomment it.
    Other similar extension points exist, see Microsoft.Common.targets.
    <Target Name="BeforeBuild">
    </Target>
    <Target Name="AfterBuild">
    </Target>
  -->
</Project>
The powershell script is stored in the enclosing solution folder. I have to use $(ProjectDir) and be relative as for some reason the $(SolutiontDir) does not work with the Xamarin tooling. The configuration is passed in and it sets the package attribute as well as the android:label without affecting the rest of the file.
1
2
3
4
5
6
7
8
9
10
11
12
13
14
15
16
17
18
19
20
<manifest xmlns:android="http://schemas.android.com/apk/res/android"
    android:versionCode="1"
    package="com.andrewandderek.podcastutilities.debug"
    android:installLocation="auto"
    android:versionName="0.1 step1">

    <uses-sdk android:minSdkVersion="19" android:targetSdkVersion="31" />
	<application
        android:allowBackup="true"
        android:icon="@mipmap/ic_app"
        android:label="@string/app_name_debug"
        android:roundIcon="@mipmap/ic_app_round"
        android:supportsRtl="true"
        android:theme="@style/AppTheme">
    </application>
	<uses-permission android:name="android.permission.ACCESS_NETWORK_STATE" />
	<uses-permission android:name="android.permission.MANAGE_EXTERNAL_STORAGE" />
	<uses-permission android:name="android.permission.READ_EXTERNAL_STORAGE" />
	<uses-permission android:name="android.permission.WRITE_EXTERNAL_STORAGE" />
</manifest>
In debug it is
package="com.andrewandderek.podcastutilities.debug"
android:label="@string/app_name_debug"
And in release it is
package="com.andrewandderek.podcastutilities"
android:label="@string/app_name"
The script actually just appends debug to the existing value depending on the build type. So the actual names are specified in the VS2029 project properties UI for the app package name
and in the strings.xml resources for the app display name
1
2
3
<resources>
    <string name="app_name">PodcastUtilities</string>
    <string name="app_name_debug">Dbg PodcastUtilities</string>
I actually specify the app display name twice, the android:label in the AndroidManifest.xml file, shown above, sets the app name for display in settings and the app info screen.
The display on the home screen/launcher controlled by Label= in the code file for the MainActivity like this
1
2
3
4
5
6
#if DEBUG
    [Activity(Label = "@string/app_name_debug", Theme = "@style/AppTheme", MainLauncher = true)]
#else
    [Activity(Label = "@string/app_name", Theme = "@style/AppTheme", MainLauncher = true)]
#endif
    public class MainActivity : AppCompatActivity
Update package references
The final piece of creating the new app is to upgrade the dependencies. The new app was generated from a project template by VS2019 and that template is now quite old. For example it was targetting an older version of the framework. It was using Android 11 and Mono 10.
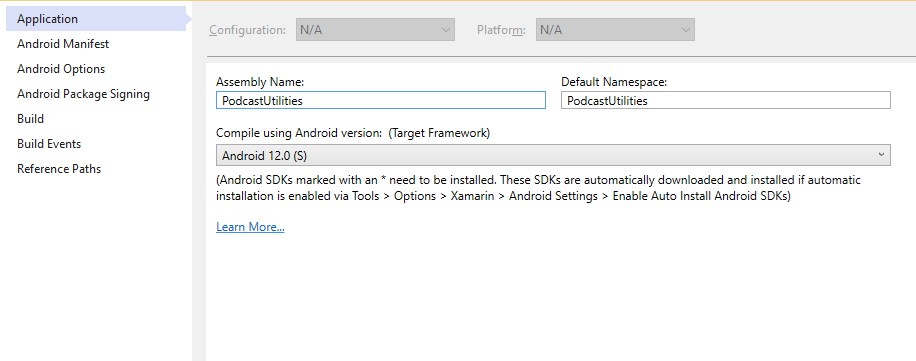
The first thing to do is to upgrade this. A little care is needed as for some reason there are two places to set the Android version so its best to set them both, in the project properties UI here
and here
Some people have reported that even after setting it in both places they still needed to manually change the csproj file here
1
2
3
4
5
6
7
<?xml version="1.0" encoding="utf-8"?>
<Project ToolsVersion="4.0" DefaultTargets="Build" xmlns="http://schemas.microsoft.com/developer/msbuild/2003">
  <PropertyGroup>
  ...
    <TargetFrameworkVersion>v12.0</TargetFrameworkVersion>
  ...
  </PropertyGroup>
The next problem is that VS2019 ships with JDK 8 Hotspot. Targetting Android 12 requires JDK 11, this is a appears to be a requirement of the platform/support libraries as its also true for Android Studio.
Upgrading to JDK 11 is pretty straightforward. There are Microsoft builds of OpenJDK that can be installed and there are instructions here.
There were still a couple of problems, setting the JDK in Tools->Options->Xamarin->Android Settings->Java Development Kit Location works but the setting seems to revert when exiting and restarting VS. This is a common problem and there may be a fix in later versions of VS2019.
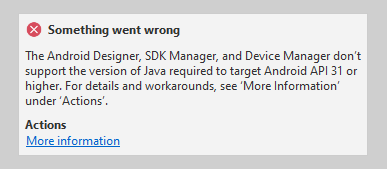
Also the Xamarin Android designer in VS2019 does not work with JDK 11, again there may be a fix for later versions although I would suggest if you want to target Android 12 you should use VS2022 as the SDK selection and designer both work.
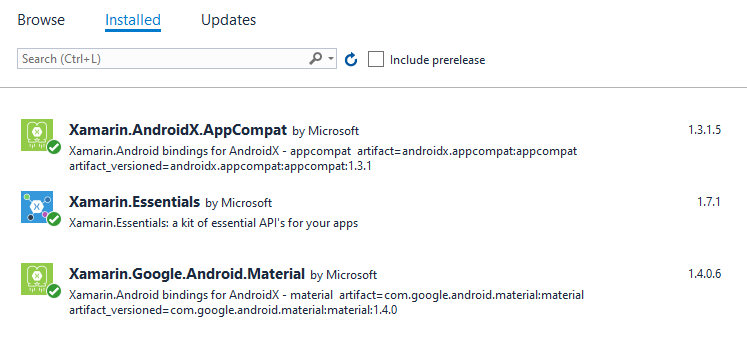
Next is to check the Nuget packages for the app, I only had three references and I upgraded them all to the latest.
Putting it all together
Building and deploying the new app to a device we can see that it all appears to work.
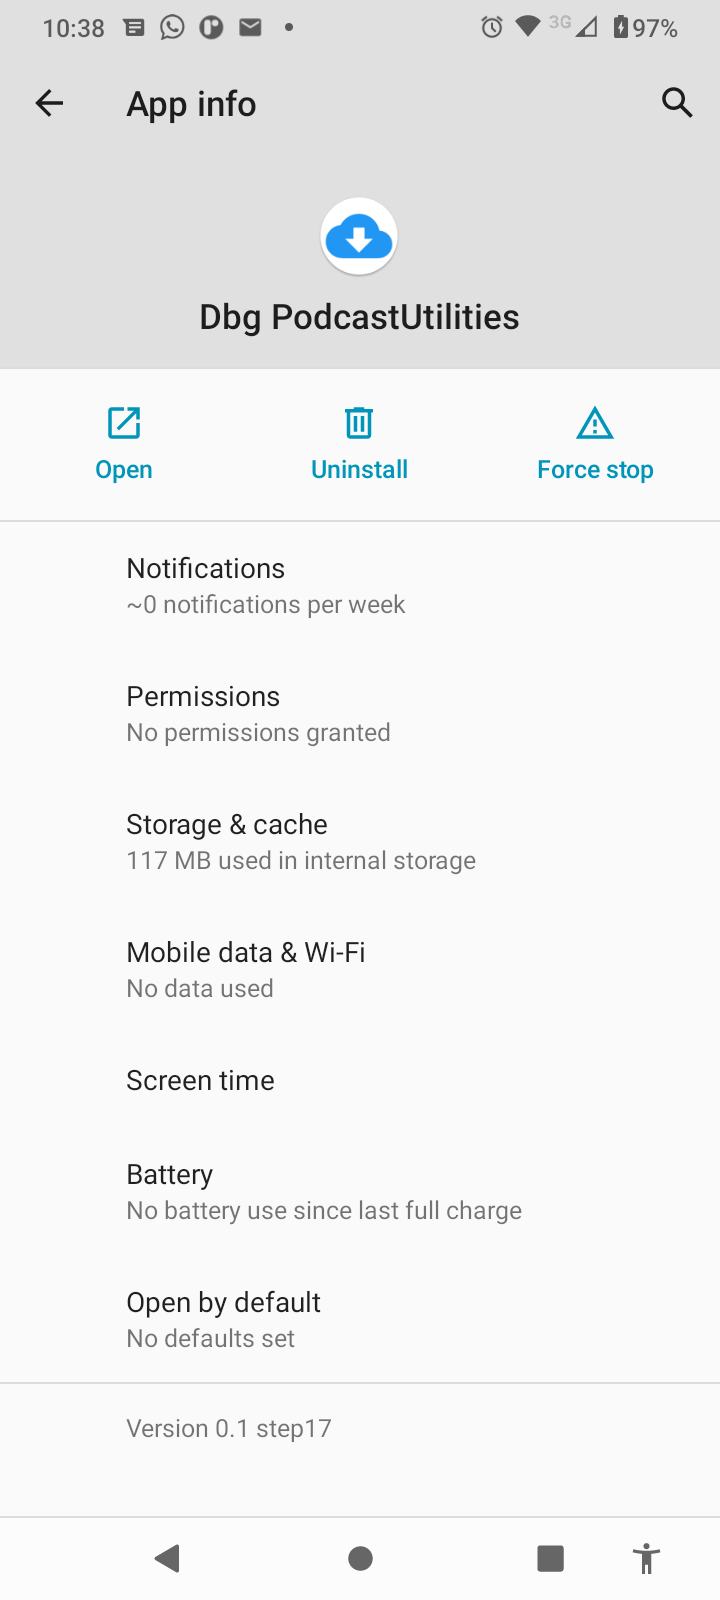
The app name is set correctly on the launcher/home screen. Its also set in the app info page in settings.
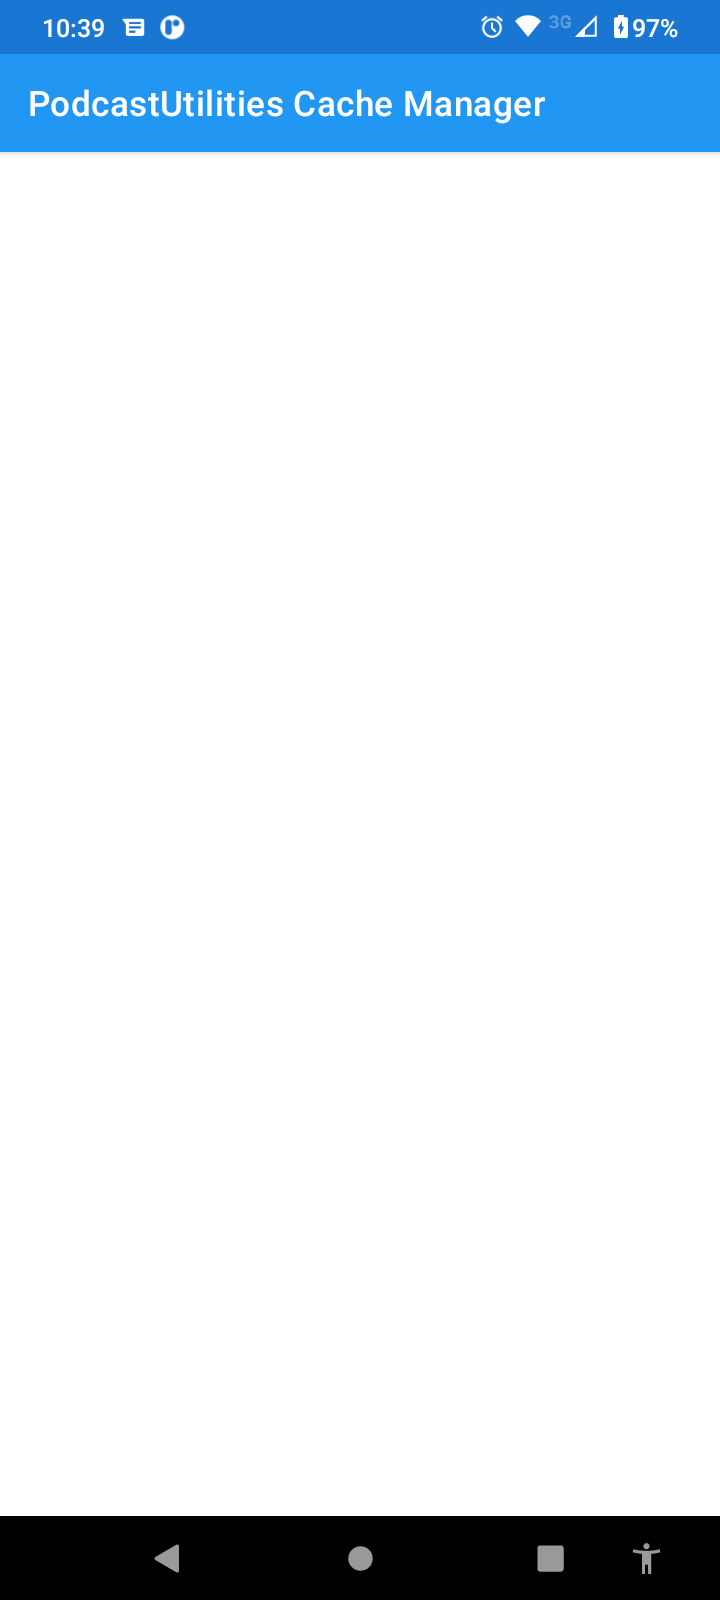
The app launches and looks like this
As can be seen from the instructions, it not completely plain sailing. Its not a disaster there are just different pain points from using Android Studio.
